Winnie the Pooh Drawings Easy
Winnie the Pooh, also known as Pooh Bear or simply Pooh, is a fictional anthropomorphic teddy bear who lives in the Forest surrounding the Hundred Acre Wood.
He embarks on fun adventures with his animal friends Eeyore, Piglet, and Owl.
The character of Winnie the Pooh was created in 1926 in a book and later made an appearance in a Disney animated movie in 1965.
But until now, Winnie the Pooh is still considered as an iconic cartoon character that is loved by people of all ages.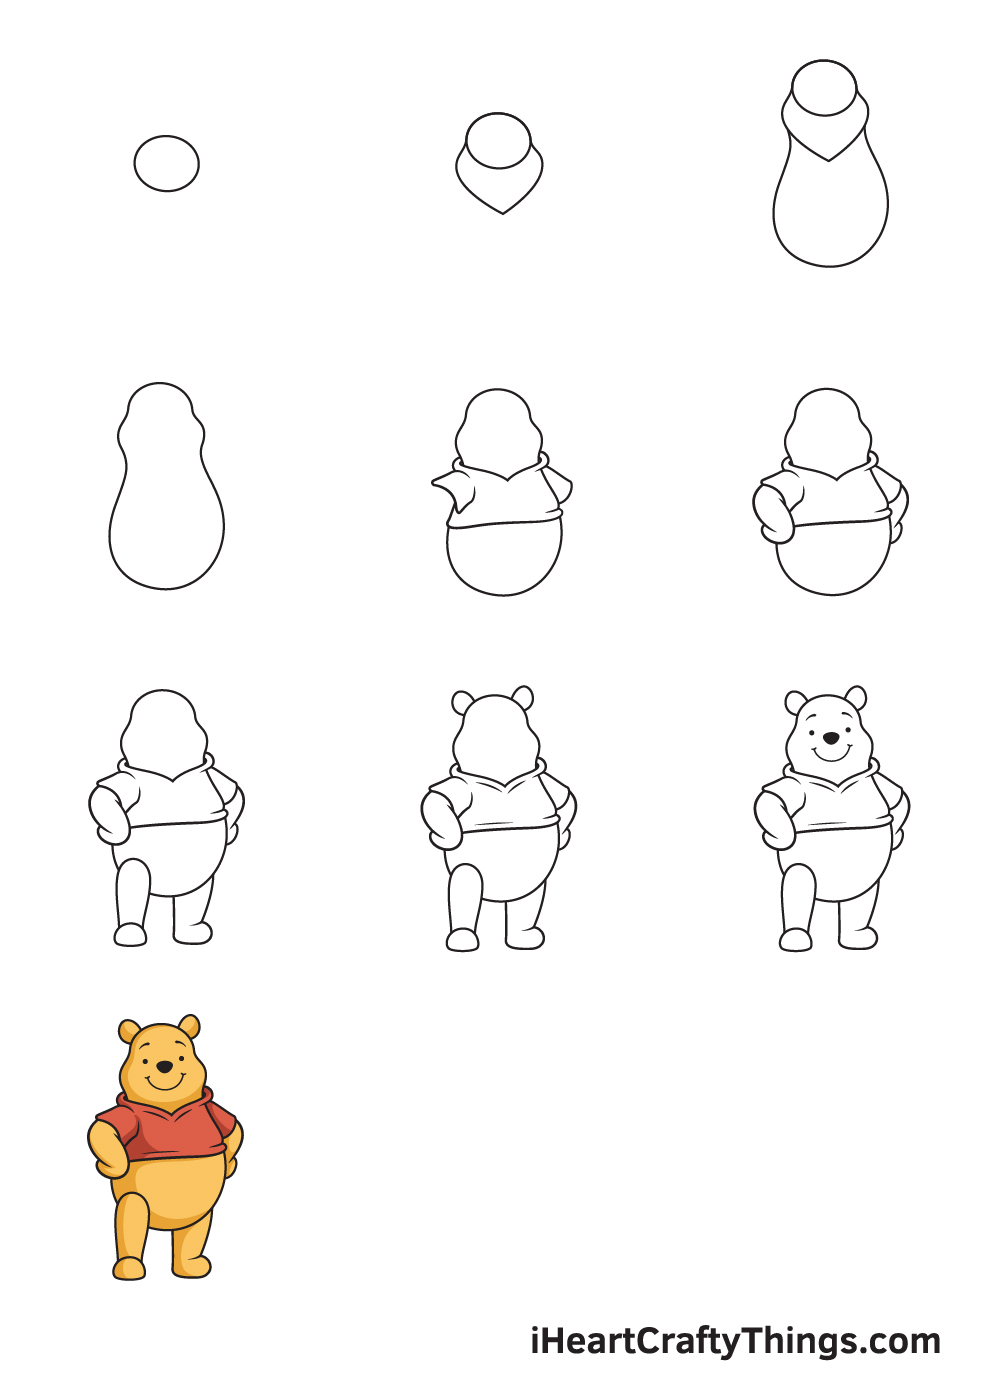
The popularity of Winnie the Pooh has created a huge demand for a drawing tutorial.
To deliver our readers' requests, we have created a step-by-step drawing tutorial on how to draw Winnie the Pooh, summed up in 9 easy instructions and simple illustrations.
Have fun and use your artistic skills!
What's in this Blog Post
- How to Draw Winnie the Pooh — Let's get started!
- Step 1
- Step 2 — Create an Outline of Winnie the Pooh's Head
- Step 3 — Draw a Rough Sketch of Winnie the Pooh's Body
- Step 4 — Refine the Outline of Winnie the Pooh's Body
- Step 5 — Draw the Shirt Winnie the Pooh is Wearing
- Step 6 — Afterwards, Draw Winnie the Pooh's Both Arms
- Step 7 — Then, Draw Both Legs of Winnie the Pooh
- Step 8 — Next, Create Winnie the Pooh's Pair of Ears
- Step 9 — Now, Draw Winnie the Pooh's Facial Features
- Your Winnie the Pooh Drawing is Complete!
How to Draw Winnie the Pooh — Let's get started!
Step 1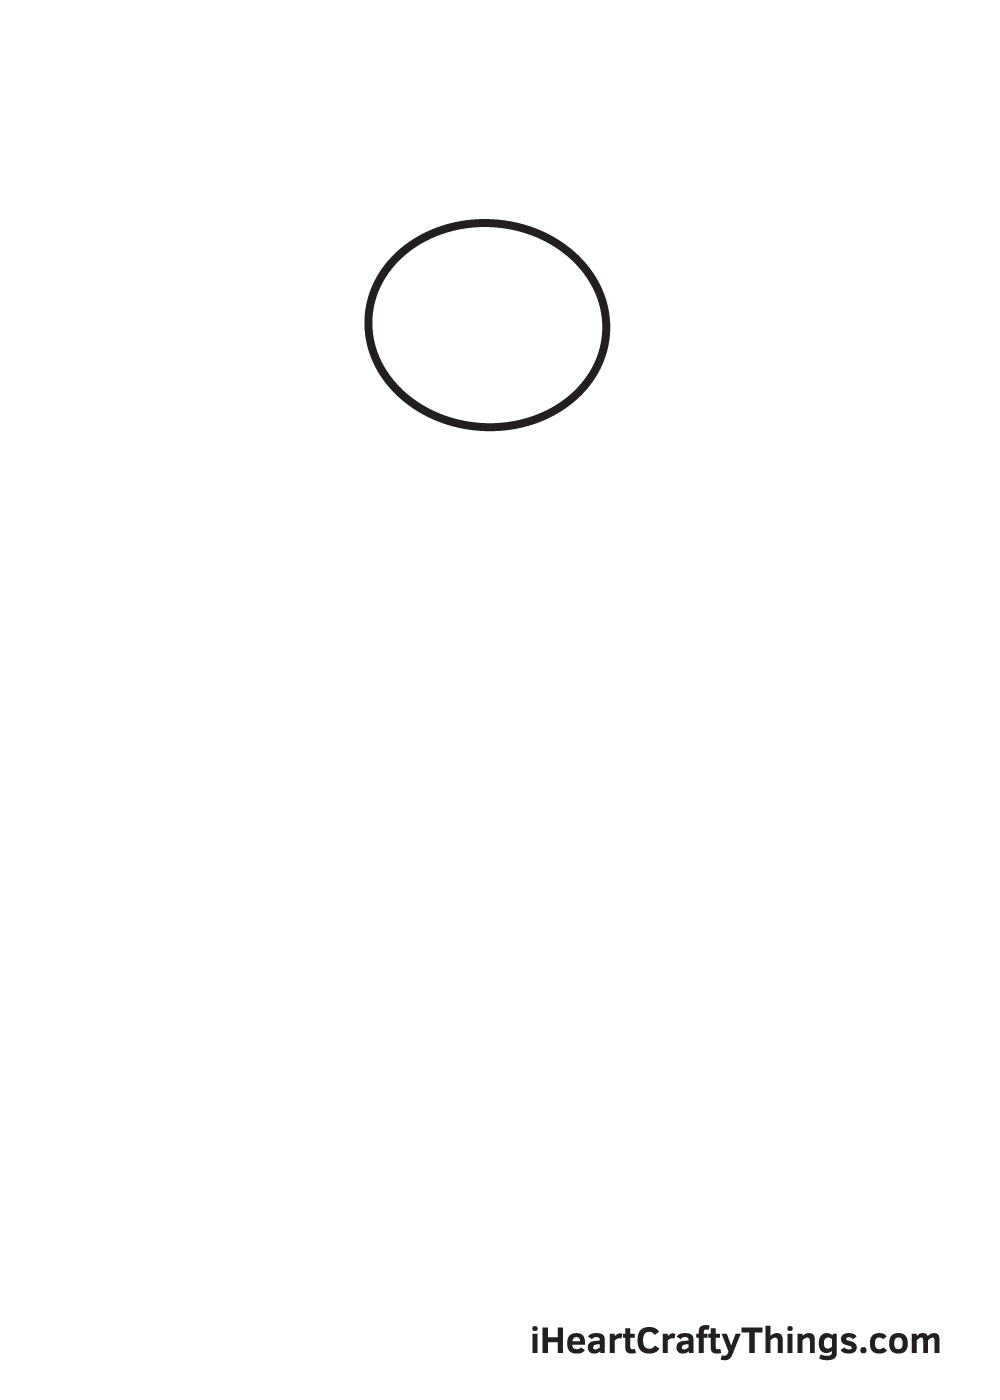
Beginning on the upper portion of your paper, draw an uneven circle shape with a greater width than length. This outlines the top of Winnie the Pooh's head.
By starting from the top and working your downwards, it ensures that there's enough space for the entire body of Winnie the Pooh. This also helps you position your drawing in the center.
Step 2 — Create an Outline of Winnie the Pooh's Head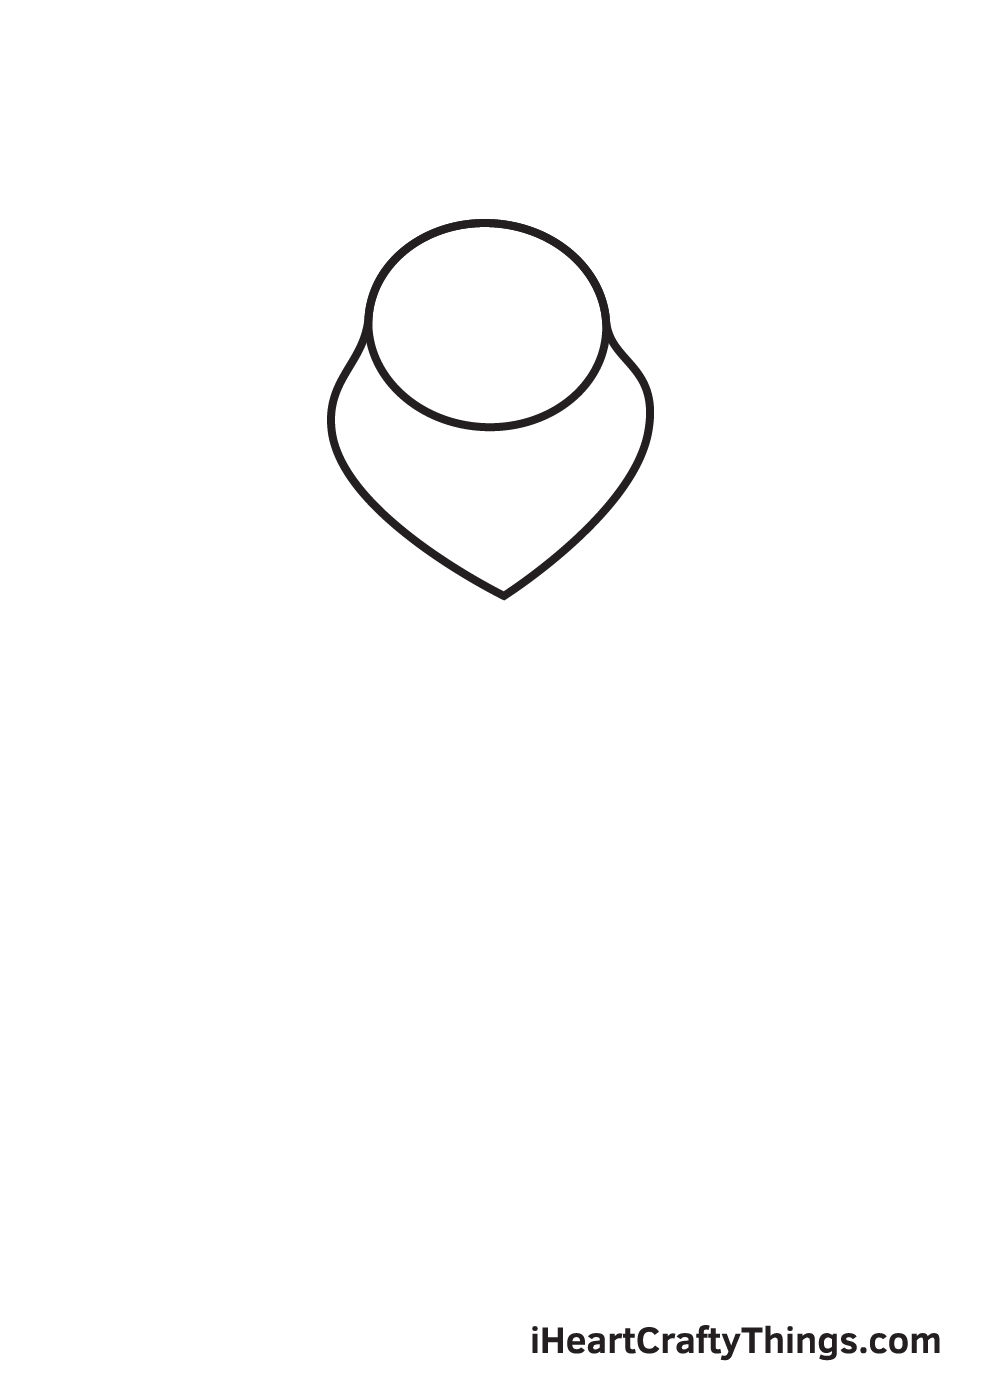
Draw two connected curved lines right underneath the head. This forms the curvy pointed shape below the head. This shape is also a part of the outline of Winnie the Pooh's head.
The structure may not make sense at the moment, but it will once we refine the outline of Winnie the Pooh.
Step 3 — Draw a Rough Sketch of Winnie the Pooh's Body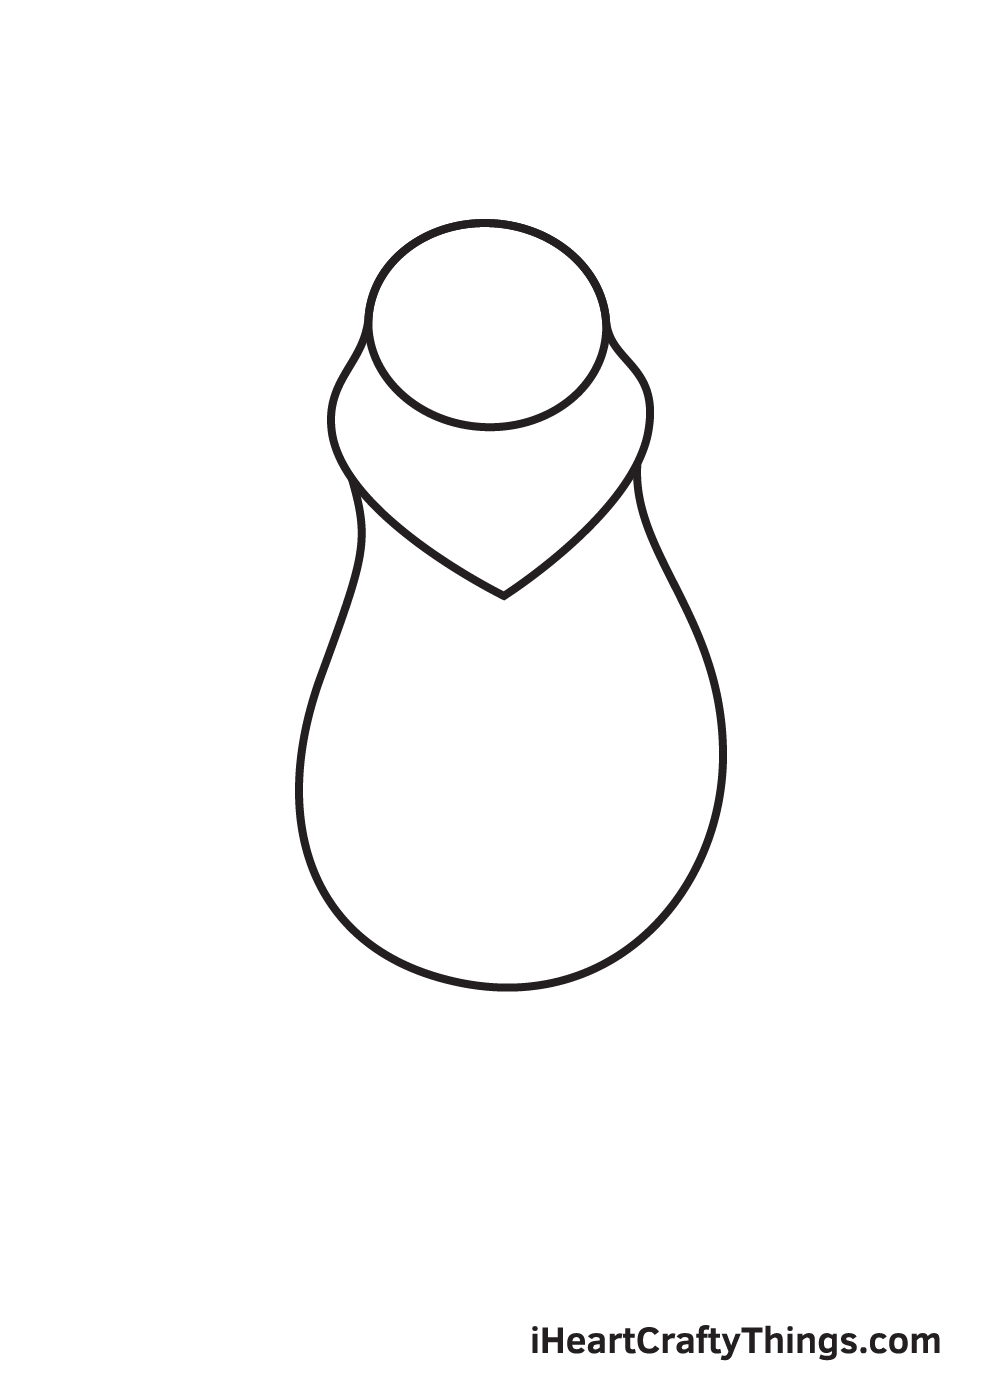
Draw a rounded shape beneath the outline we've formed in the previous step. This shape forms the outline of the body of Winnie the Pooh.
Make sure to put emphasis on Winnie the Pooh's tummy by making it the rounder and wider. This makes the belly appear bloated—one of Winnie the Pooh's distinctive features!
Step 4 — Refine the Outline of Winnie the Pooh's Body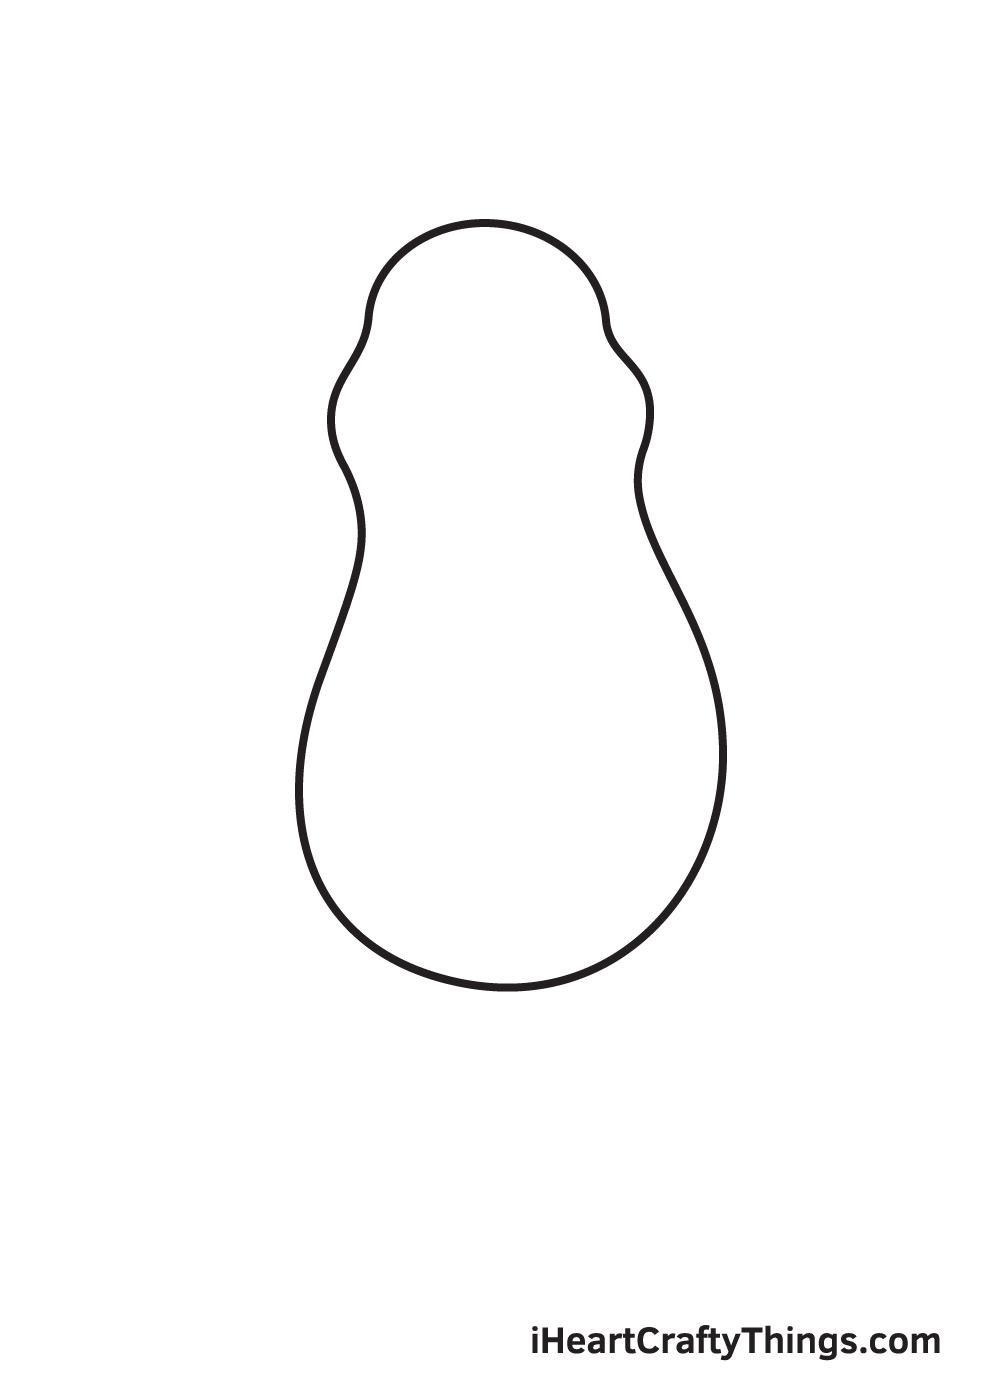
Polish up the shape of the body of Winnie the Pooh by removing the inner lines. Take note that only the lines overlapping inside the figure should be erased, revealing a more refined outline of the body of Winnie the Pooh.
After completing this step, you should now be able to see the figure of Winnie the Pooh's body, starting from the top of its head all the way down to its tummy.
Step 5 — Draw the Shirt Winnie the Pooh is Wearing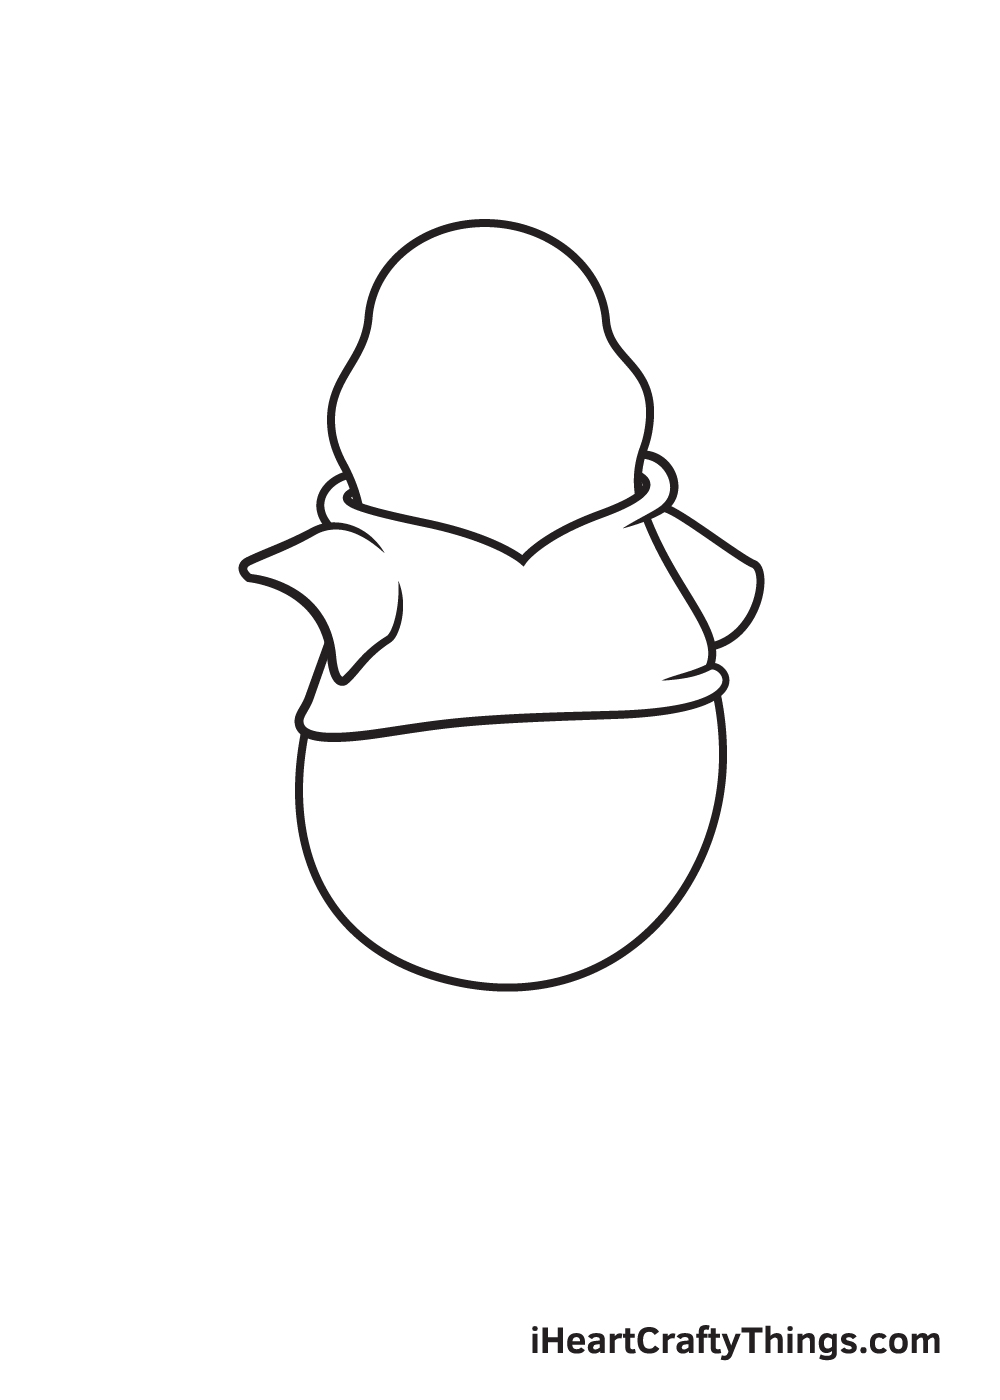
To create Winnie the Pooh's shirt, draw a wide V-shaped line below the head to create the hem of the collar. Then, draw an outline covering the upper body of Winnie the Pooh.
Lastly, draw the short sleeves on both sides of the shirt. This completes the form of the cropped t-shirt, which is the signature outfit of Winnie the Pooh.
Step 6 — Afterwards, Draw Winnie the Pooh's Both Arms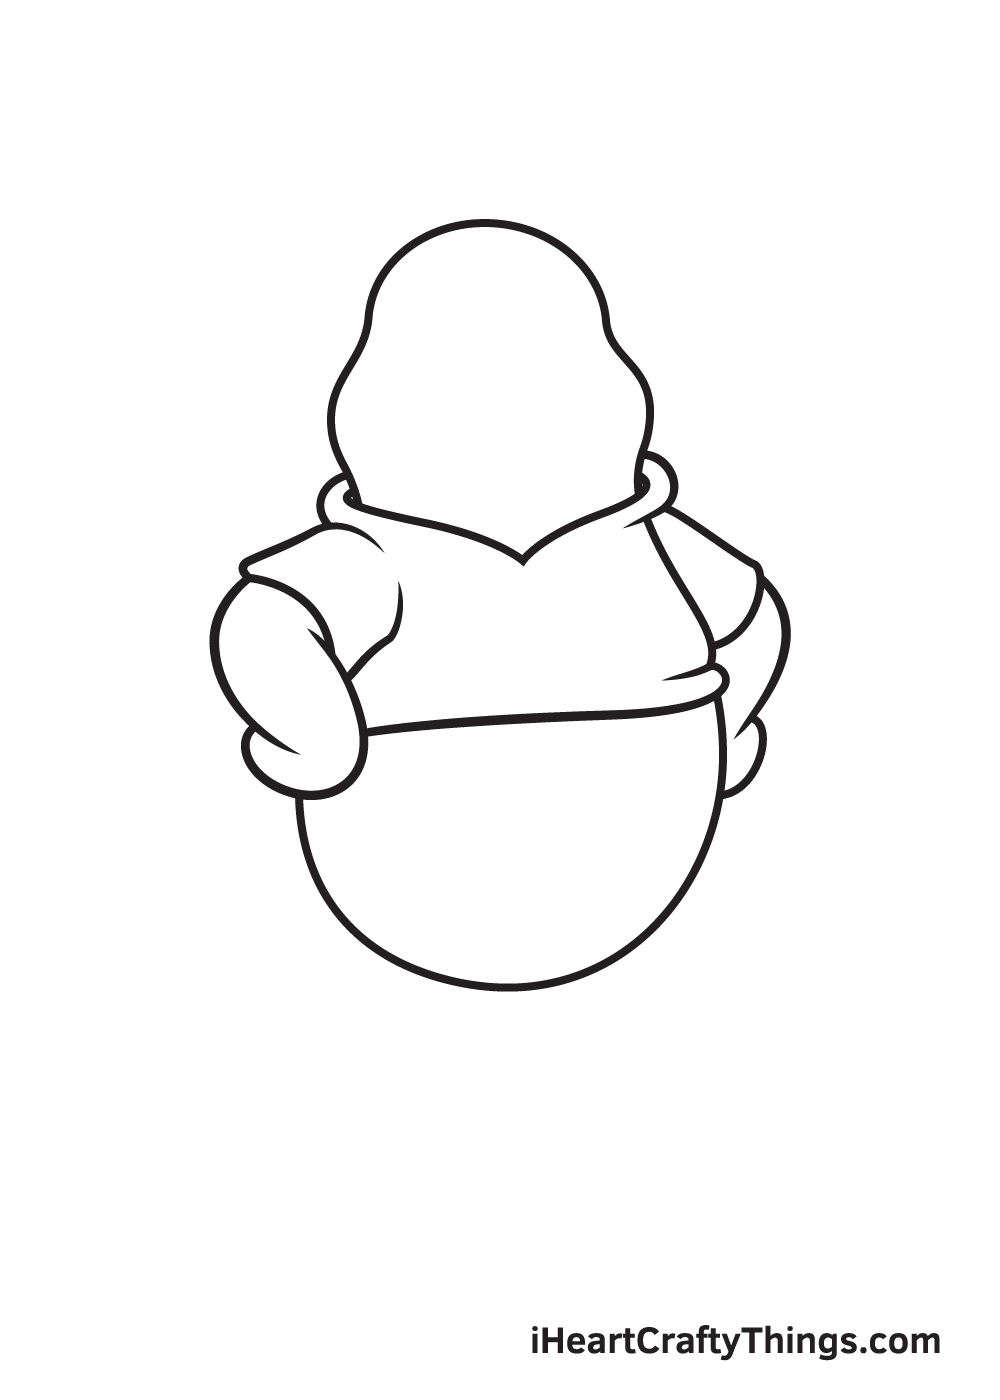
Draw an elongated curved shape with a round end directly connected to the hem of the sleeve. Afterwards, repeat the same procedure on the other sleeve.
This forms the left and right arm as well as the hands of Winnie the Pooh.
As you can see in the illustration, Winnie the Pooh's arms are folded and its hands are resting on its hips. So, make sure you draw the arms at an angle.
Step 7 — Then, Draw Both Legs of Winnie the Pooh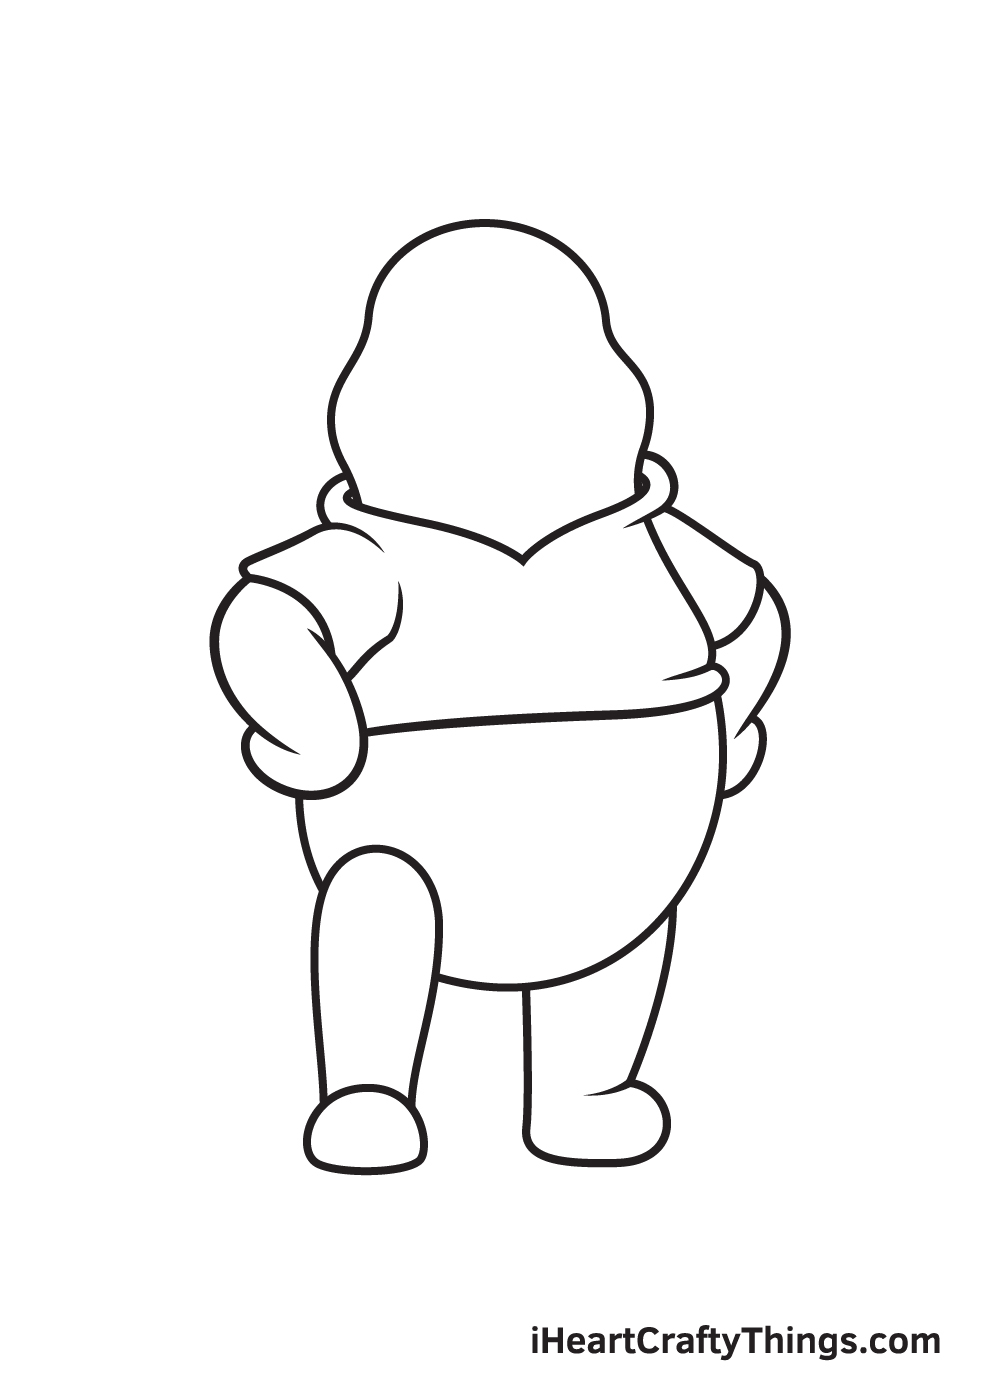
Draw an upside down U shape attached on the bottom left side of Winnie the Pooh's torso to form the left leg.
Then, draw a semicircle at the bottom of the leg to create the foot. Make sure you erase the line overlapping inside the left leg.
To create the right leg, draw an elongated shape with a round curve at the bottom on the opposite side of Winnie the Pooh's lower body.
Step 8 — Next, Create Winnie the Pooh's Pair of Ears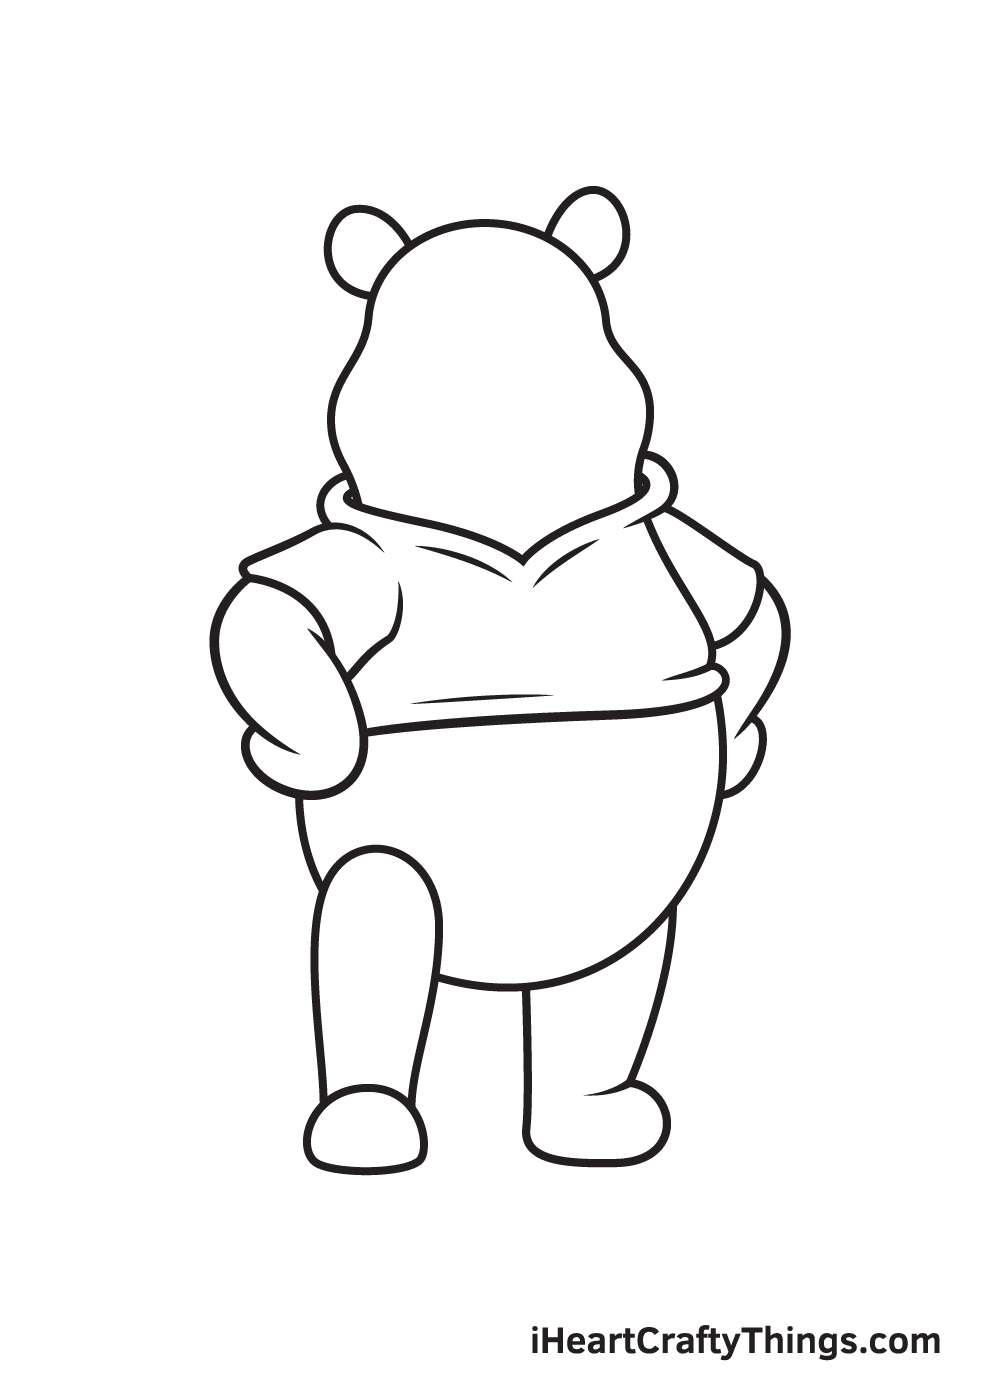
Create Winnie the Pooh's ears by enclosing a curved arc line on both sides at the top of its head. Make sure that the edges of both ears are rounded.
Afterwards, draw light strokes on the collar and the hem of the Winnie the Pooh's shirt. This adds a texture on the clothing, making its fabric appear soft and realistic.
Step 9 — Now, Draw Winnie the Pooh's Facial Features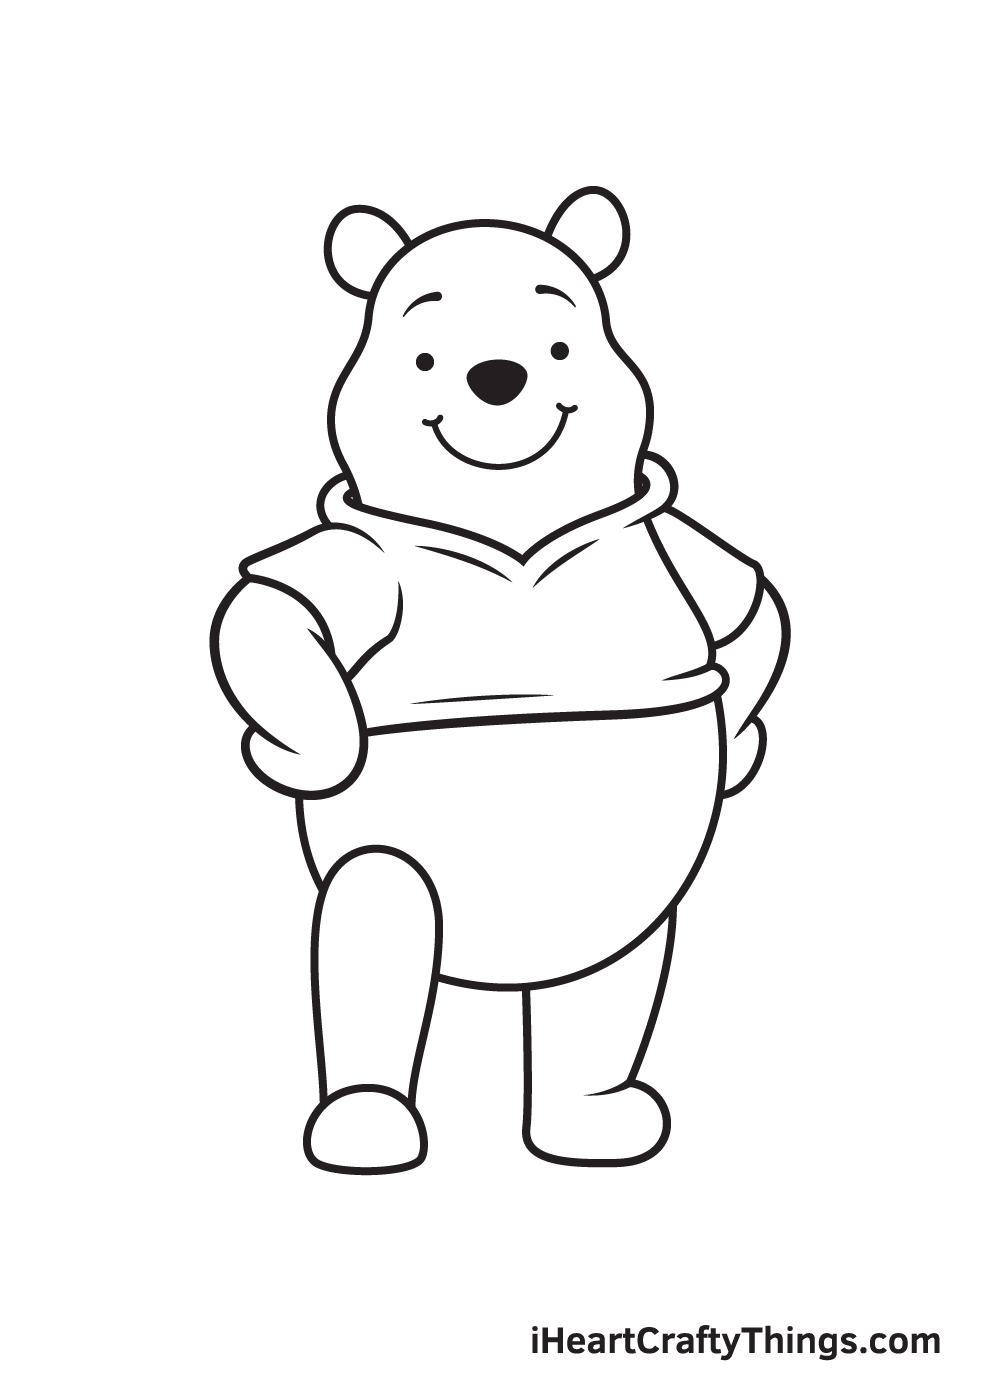
When drawing the facial features, it's easier to start from the top to the bottom. It also helps ensure that everything is aligned and proportioned.
Continue by drawing two short curved lines on the upper part of the head to create the eyebrows. Then, draw a small shaded circle underneath each eyebrow for the eyes.
To create the nose, simply draw an upside down triangle shape filled with shade. Lastly, draw a wide upward curve to put a huge grin on Winnie the Pooh's face.
In the book and in the animated film, the color of Winnie the Pooh's coat is yellow while the cropped t-shirt that he's always wearing is red.
You can opt to color Winnie the Pooh using his original colors or use a unique set of colors. Either way, we're sure the colors will turn out amazing!
However, we suggest doing the latter so you can customize your artwork, making the most out of your drawing experience.
Have fun coloring Winnie the Pooh and watch as he ultimately comes to life!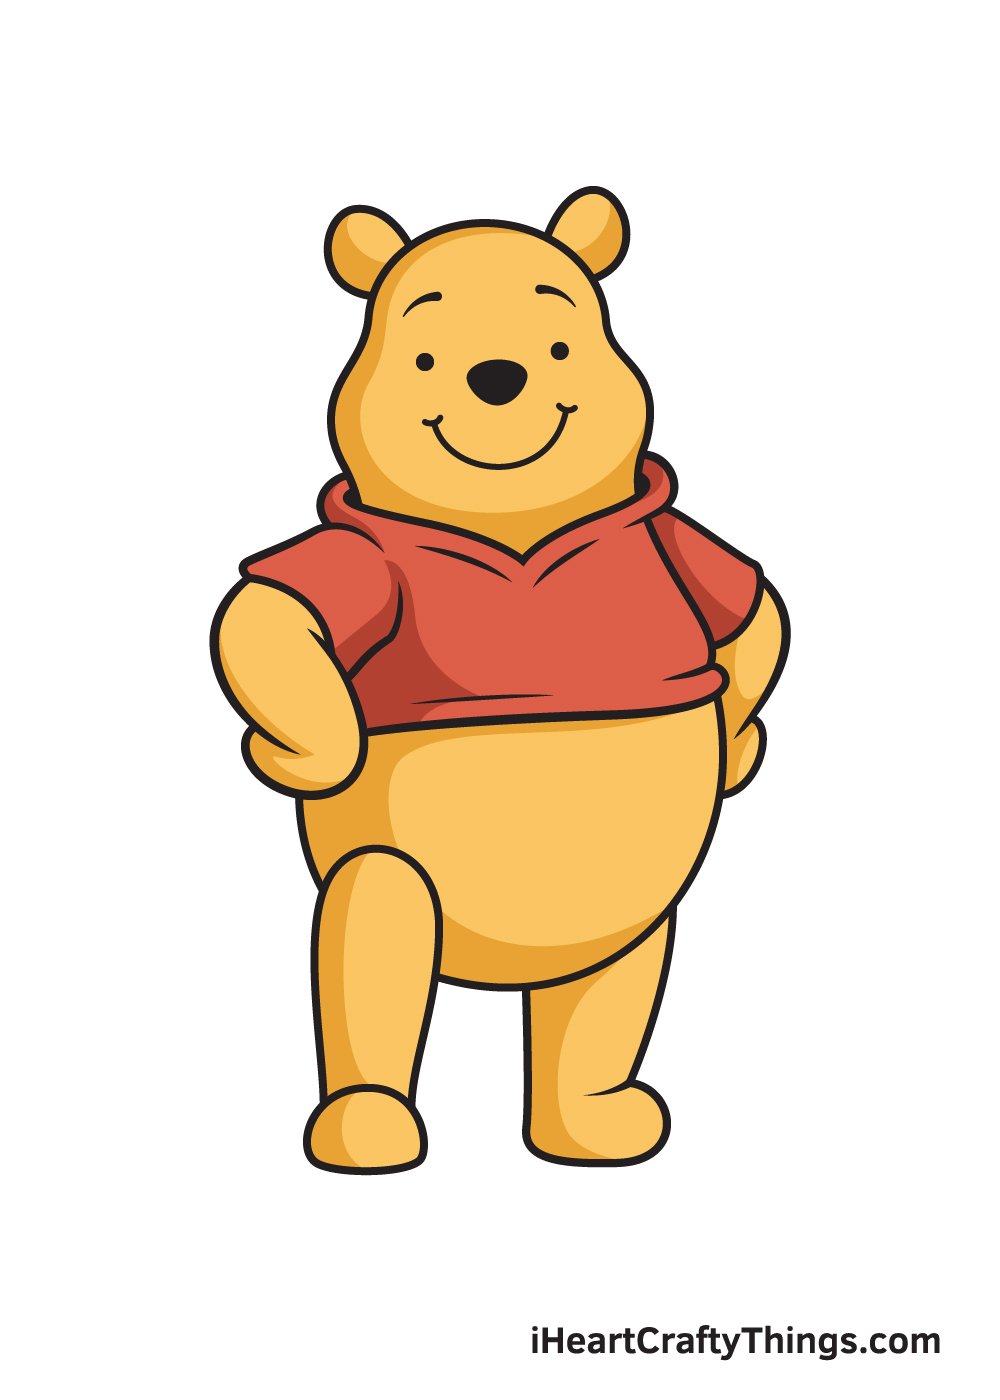
Your Winnie the Pooh Drawing is Complete!
We hope you enjoy this step-by-step Winnie the Pooh drawing. It doesn't matter if you're a beginner or an expert in drawing; you can surely draw a Winnie the Pooh with the help of this comprehensive guide.
We are regularly uploading new content on our "How to Draw" catalog, so make sure you keep checking back to continuously enjoy brand-new drawing tutorials like this.
Remember, all of our drawing tutorials are 100% free for you to use as a learning material to help you practice your drawing skills.
Don't forget to show off your masterpiece once you've completed drawing and coloring Winnie the Pooh.
You've worked tirelessly for it, so don't be shy to flaunt your artwork! Don't worry—we're sure it looks awesome!
We can;t wait to see your adorable Winnie the Pooh drawing!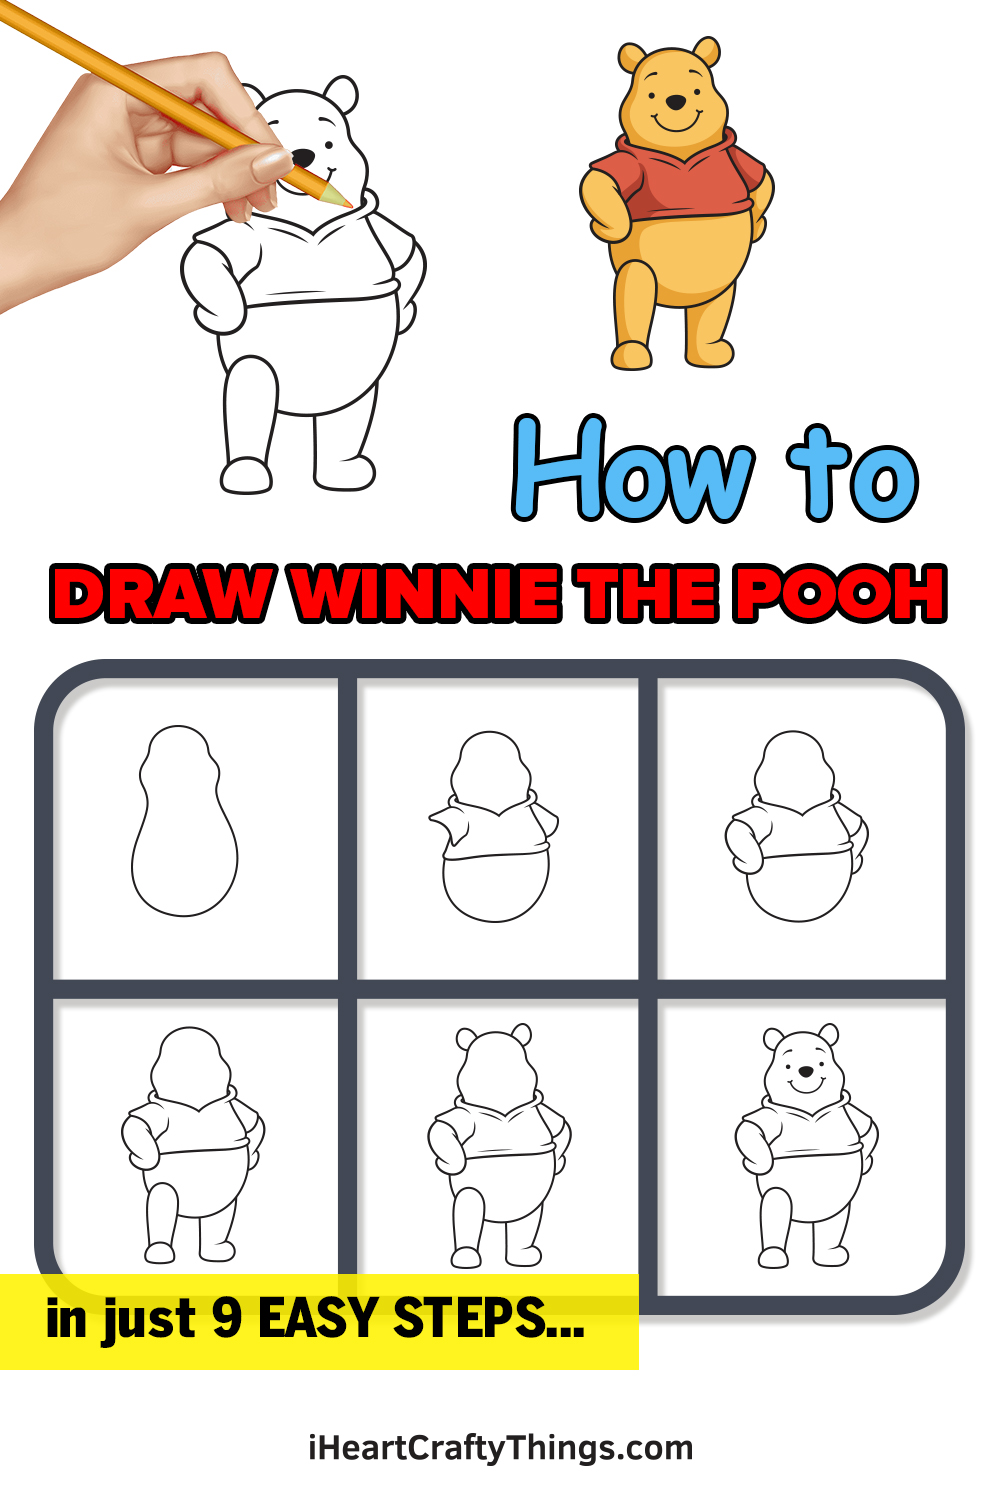
Source: https://iheartcraftythings.com/winnie-the-pooh-drawing.html
0 Response to "Winnie the Pooh Drawings Easy"
Post a Comment